© 2023 Kreativa. All rights reserved. Powered by JoomShaper
DISCLAIMER: I take no responsibility if you damage your own engine by following this guide. Good luck!
Repairing the LCD display in the tachometer
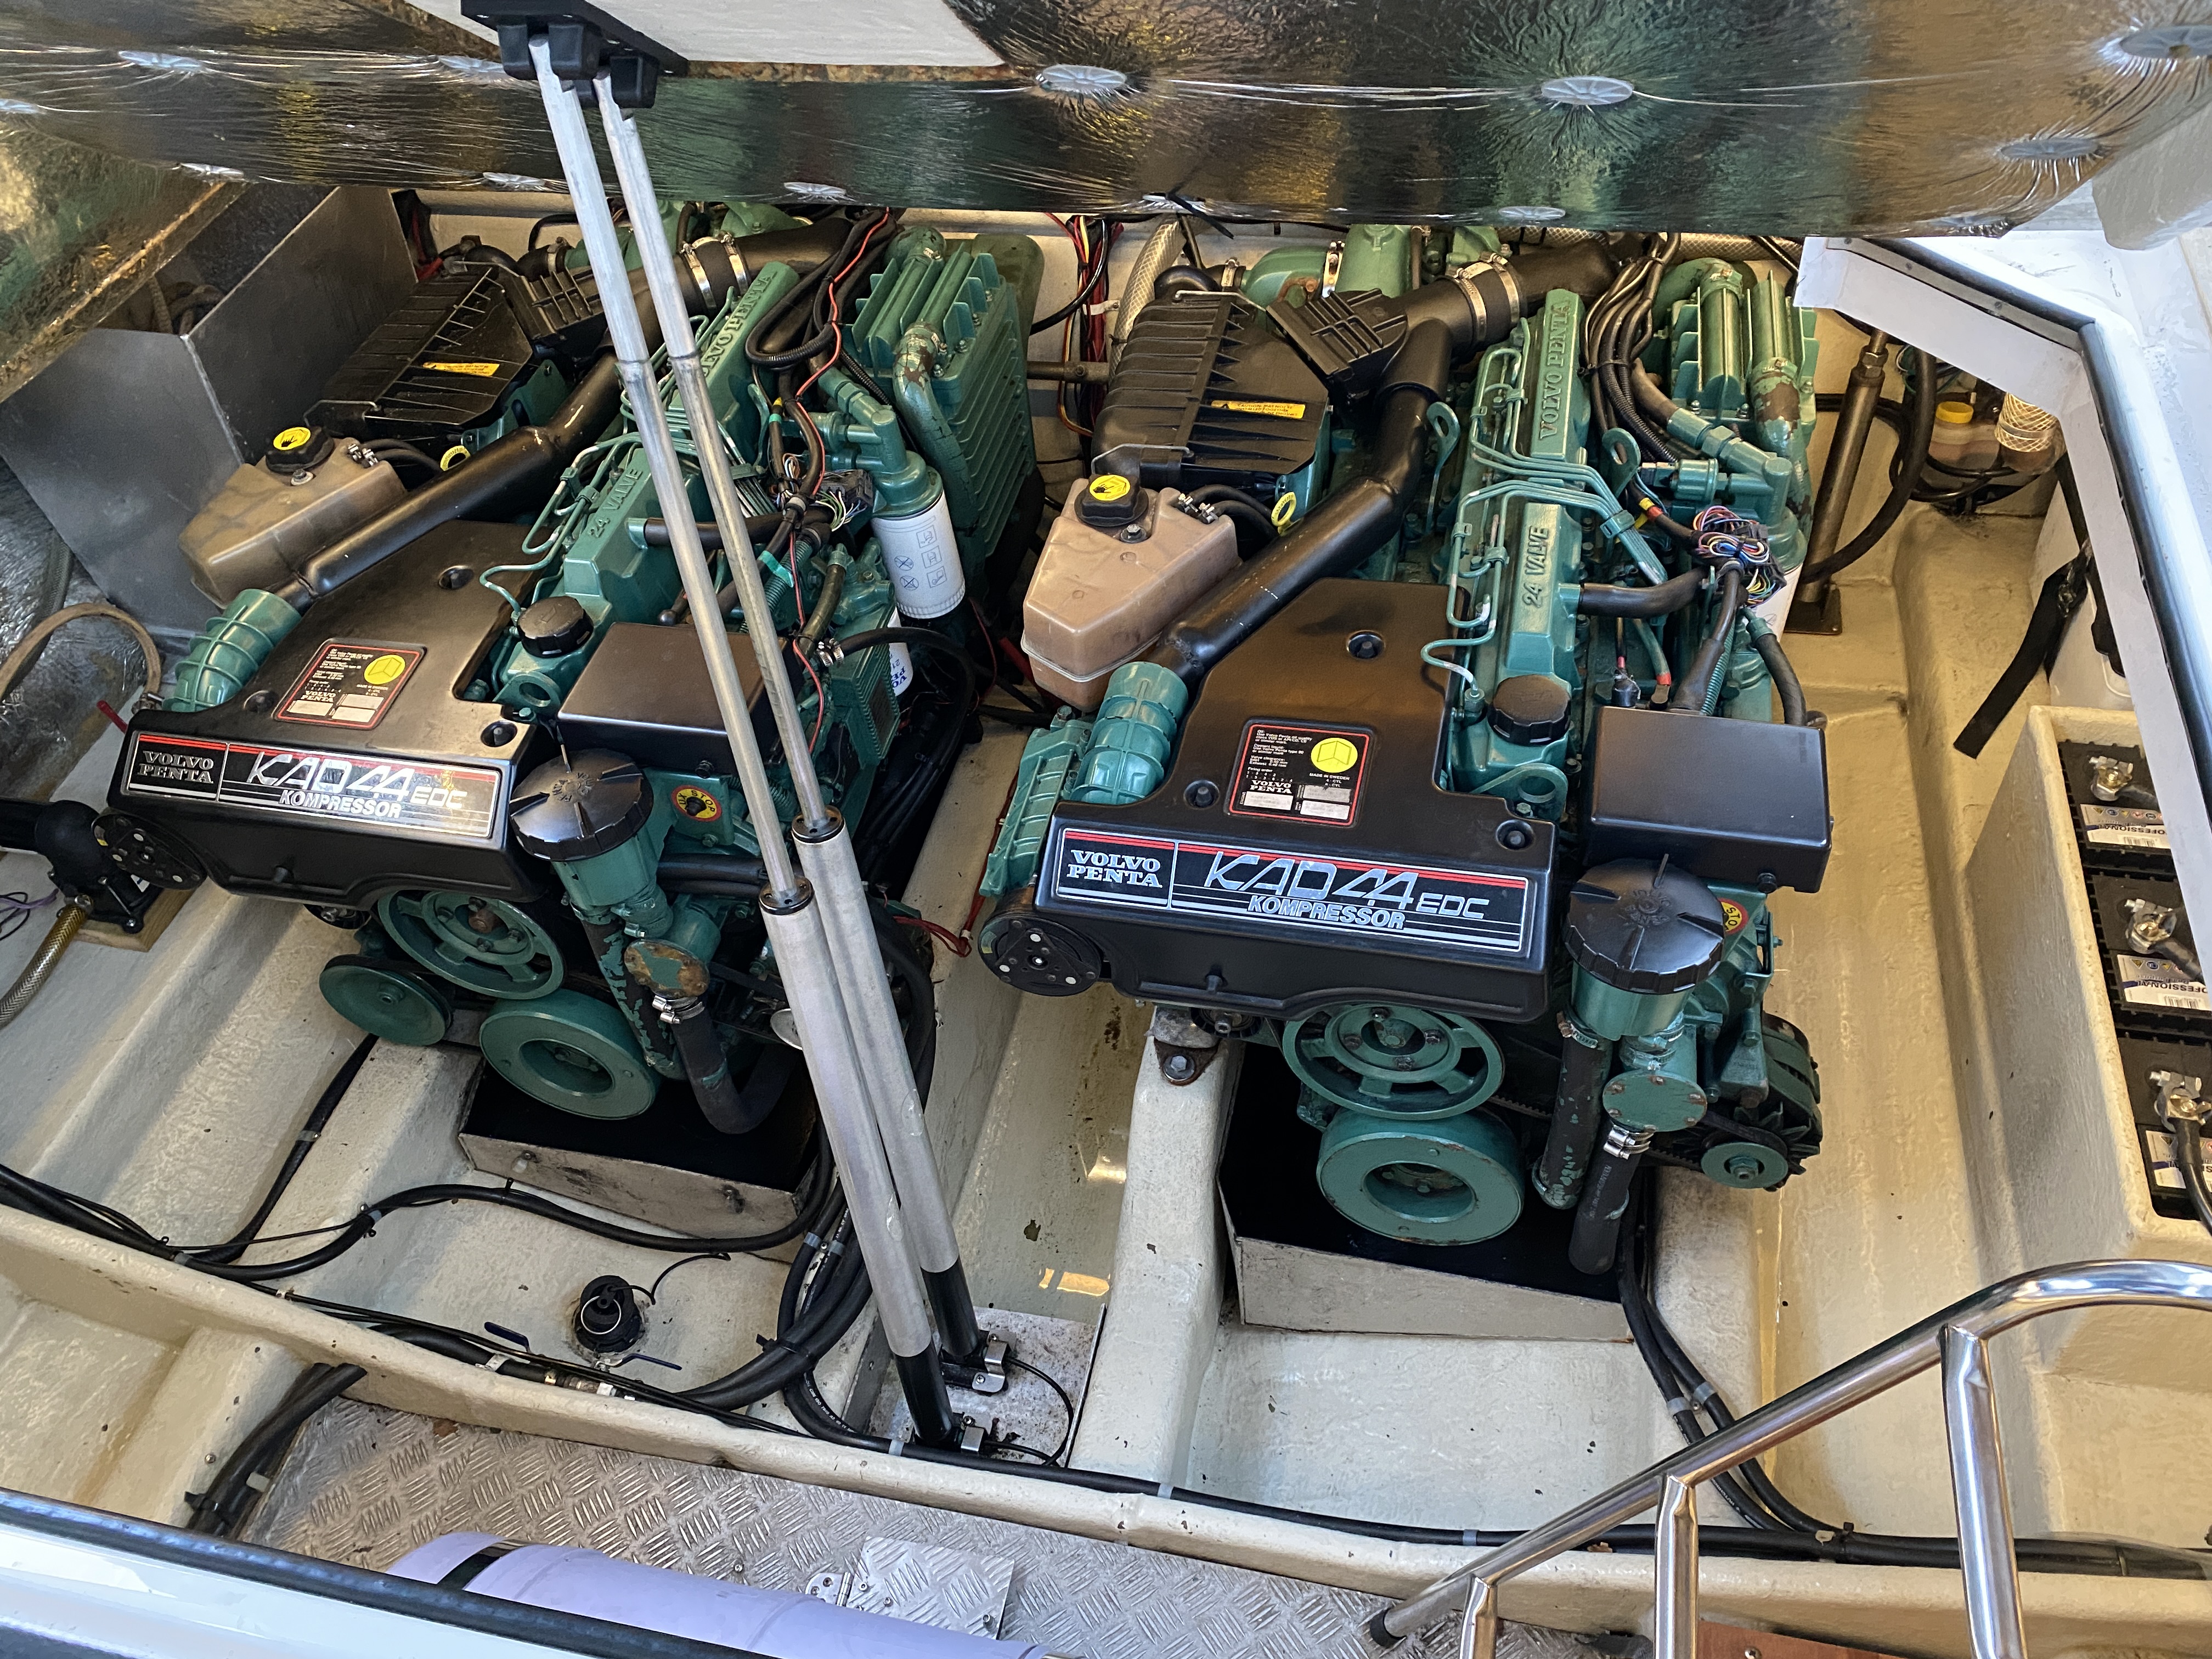
This applies to KAD44, KAD43, KAD42, AD41 etc. There are many of these in Norway Like many others in Norway, I have a Volvo Penta in the basement of the boat. 2 pcs to be exact, and
both engines have run "about 1450" hours. It is a known disease on Volvo Penta that the hour meter on
the tachometer dies after a number of years. Replacing it is easier than you think. It takes time to dismantle
tachometer from the boat, than it takes to change the LCD display itself.
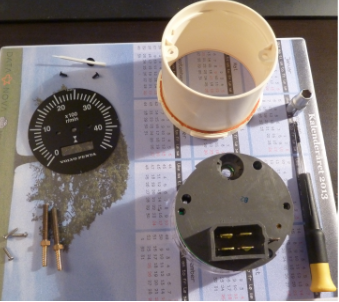
You need: flat screwdriver, small and 6mm pipe and nose pliers to hold the pipe
I called Seasea Malmø v/Peter in Sweden and ordered 2 "Such-LCD-displays-that-dies-on-all-Volvo-Instruments". Sent address by email to: peter@marincentersyd.se and read it out
phone number and they were on their way. There are probably cheaper ways to find this
Norway, but I like Swedish people and knew they had them in stock.
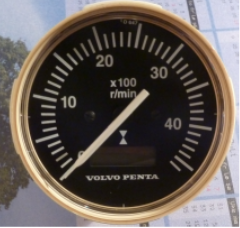
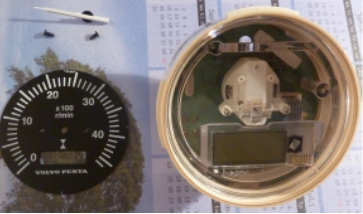
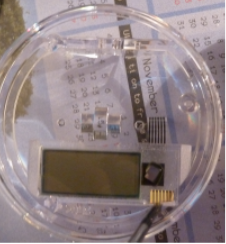
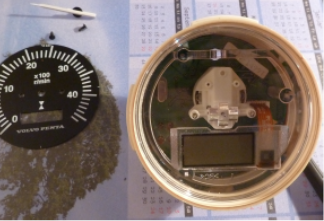
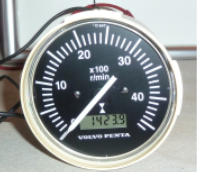
Here is the dead display:
Then we start the dismantling. Carefully grasp with 2 fingers and pinch the pointer straight out. You
may have to use a little force, but eventually it will come loose. Then remove the 2 black screws on either side
pointer, then remove the back plate with the rev range on it
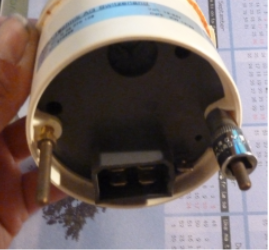
Then it will be like this. Turn the tachometer upside down to loosen the necessary screws at the back.
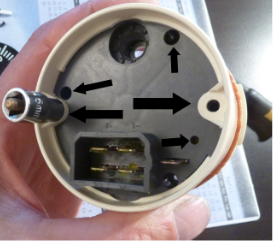
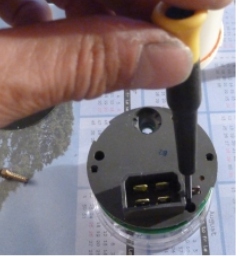
Grasp the pipe with the needle nose pliers and loosen the screws marked with a large arrow, take the rest of the unscrewing by hand. Take the equally flat puller and unscrew the 3 small ones.
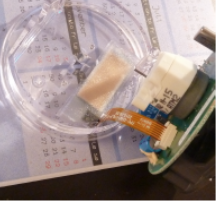
Then it looks like this. Turn the tachometer upside down again and detach the clear plastic from the rest. It falls off each other.
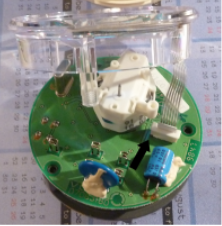
Carefully loosen the flat-head screwdriver on the locking clip that holds the flat cable on.
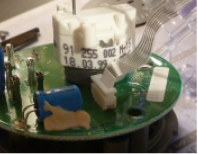
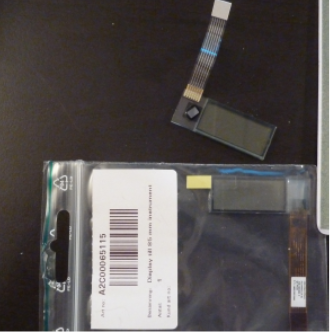
Pull out the flat cable. Detach the display itself from the front with the flat puller. Find the bag with the new LCD display
Mount the new display, pull the flat cable through and secure it in the white locking clip. Here it is shown with a close-up.
Put the glossy plastic together with the rest, turn it upside down and fasten the 3 screws with the flat screwdriver
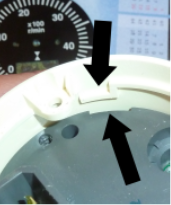
Three saw the assembled display into the plastic sleeve. Note that there are overlapping areas that should fit. They are marked with 2 black arrows in the picture.
Push it together and fasten the 2 brass screws with the 6mm pipe.
Turn it upside down again, like this:
And put in the dial, screw it in place with the 2 black screws.
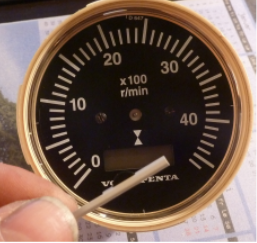
Push the pointer itself into place, making sure that 0 is still 0. Voila, you're done
Test with some power on
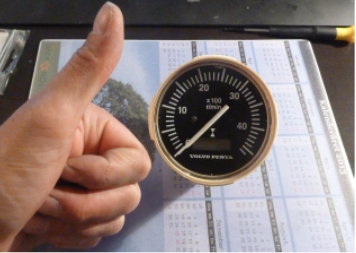
Total time spent: about 15 minutes
Money saved: about NOK 2,800 (NOK 3,300 for a new tachometer on Ebay. Paid almost NOK 500 for a new LCD delivered)